


![Ouattara accusé de préparer un coup d’État électoral [ Africanews TODAY ]](http://static.euronews.com/articles/stories/09/40/35/06/640x360_cmsv2_7d7e2b3b-279d-56d4-a68d-575ee2a63a4d-9403506.jpg?1754319698#)


Show HN: I spent 6 years building a ridiculous wooden pixel display

I spent 6 years building a ridiculous wooden pixel display
August 2, 2025
TL,DR: I built the world's most impractical 1000-pixel display and anyone in the world can draw on it
If you just want to play with it, goto kilopx.com.
The backstory
Six years ago I had an idea to build a large, inefficient display with a web interface that anyone could interact with. I've enjoyed Danny Rozin's unconvenional mirrors over the years and was inspired by an eInk movie player that played at 24 frames per hour that got me thinking about a laborious display that could slowly assemble an image.
I landed on the idea of a 40×25 pixel grid of pixels, turned one by one by a single mechanism. Compared to our modern displays with millions of pixels changing 60 times a second, a wooden display that changes a single pixel 10 times a minute is an incredibly inefficient way to create an image. Conveniently, 40×25 = 1,000 pixels, leading to the name Kilopixel and the six-letter domain name kilopx.com. How do you back down from that? That's the best domain name I've ever owned.
So I got to work. This project has everything: a web app, a physical controller, a custom CNC build, generated gcode, tons of fabrication, 3d modeling, 3d printing, material sourcing - so much to get lost in. It's the most ambitious project I've ever built.
The first prototype: 21×3 pixels
My first thought was to use a wooden gantry that would ride on some sort of track. Since I'm most comfortable working with wood, it's my default prototyping medium. However, I quickly pivoted to extruded aluminum and the excellent hardware kits from Openbuilds that include pulleys, gantry parts, extruded aluminum, and timing belts. It's very similar to the materials used in 3D printer frames, and connects very easily with off the shelf stepper motors. This allowed me to build a gantry with X and Y, essentially a wall-mounted XY plotter. I built the first prototype with two stepper motors, a Raspberry Pi, a CNC controller, and a beefy power supply. It allowed me to generating and sending instructions to the CNC controller to move to a particular pixel, turning that pixel, and reading values from sensors. It also revealed quite a few problems with my pixel choices and pixel manipulation mechanisms.

1,000 of anything is expensive
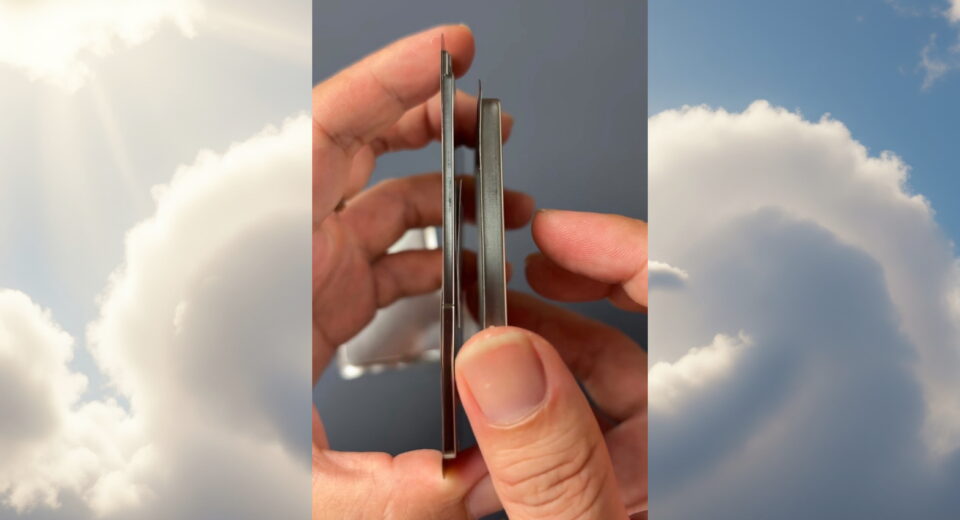
Picking pixels was a real adventure. I've tried ping pong balls, styrofoam balls, bouncy balls, wooden balls, 3d printed balls, golf balls, foam balls...anything approximately spherical and about 1-1.5in in diameter. The problems I encountered were largely cost (even a 50¢ ball is $500 of balls), weight (again, a thousand of these things), and availability. For a long time I thought ping pong balls were my best bet, so I purchased a few hundred of them, 3d printed painting jigs, and spray painted them. I used a hot nail to melt two opposite holes on each ball so they could be strung up on the display.
![]()
![]()
Ping pong balls are basically soda cans
You can stand on a soda can, as long as it's not open. Open the can, and it crushes easily. Ping pong balls are the same way. They're relatively strong until you melt two holes in them. Then they can be deformed, which is fatal to any spray paint you've put on them. And not only are they fragile, but the cheap ones are inconsistently sized, and a half millimeter here and there adds up when you have a row of 40 balls. Ping pong balls were a no-go.
Nerfed
My next attempt at a cheap, spherical pixel was foam Nerf balls - much smaller than ping pong balls, and only available in bright colors. They accepted spray paint OK but the paint deteriorated over time.
![]()
![]()

It was difficult to consistently bore a hole through the nerf balls, and they really liked to grab the wire and were hard to turn. I struggled to consistently turn them and I wasn't thrilled with the bright colors.
I also tried bouncy balls (hard to drill a hole, hard to paint, inconsistent sizes, heavy), wooden balls (not very round, hard to paint a crisp line, heavy), and styrofoam balls (hard to paint with acrylic paint, and they melt with spray paint).
Turning balls
I had the idea to use a small, slow motor to rotate a LEGO wheel against the ping pong ball. I'd use a reflectivity sensor to detect if it was showing black or white, and stop once the pixel was rotated properly. I modeled and printed a custom hub for a LEGO wheel, a few different mechanisms to move the wheel in and out of contact of the sphere, and an interface for the gantry. I tried using a solenoid to push the motor into the ball, which was underpowered, and a servo. Neither approach worked great and ultimately I decided this ball turning approach was a dead end.


Pivoting to non-spherical pixels
In 2024 I had a couple of productive conversations with Joe Tannenbaum on the Side Project podcast and Chris Morrell on the Over Engineered podcast. Those conversations helped me consider that maybe balls were not the way to go - I thought about flaps and illuminated buttons, then settled on a cubic wooden pixel. I also decided to manufacture the pixels myself because I'm very comfortable in my wood shop. This decision cost me a huge amount of time because doing things one thousand times takes forever, but I was really pleased with how it operated and looked.

![]()
![]()
Building the grid
I'd learned from earlier prototypes that I needed to strictly define a grid and not depend on the pixels themselves for spacing. That 40mm pixel might be 39.5mm, or 41mm. And that variation adds up across 40 pixels - you might be 10mm off by the end of the row. So for my (hopefully final) build I created 25 thin shelves, drilled 40 holes in each one using a jig to enforce consistent spacing, and threaded pixels on 40 metal wires. This was painstaking and time consuming - I broke it down into multiple sessions over several weeks. But it did create a very predictable grid of pixels and guaranteed that each pixel moved completely independently of the surrounding pixels.
![]()

Finally, I had my first thousand-pixel display and it seemed promising! I could stop here and have some interesting wall art - and it feels amazing to swipe across with your hand. But we're not stopping! In Wisconsin, we say Forward!
A CNC machine in my office
I've used a hobby CNC machine in my wood shop for many years, so I was familiar with the basics of CNC and the possibilities for this project. Generally speaking, a CNC machine is something that takes very specific movement instructions written in a language called gcode, and uses those instructions to move to a certain position and do something like drill a hole, cut a groove, or burn with a laser. Stepper motors are typically used because they move very predictably when they receive electrical signals from a CNC controller. Common hobby CNC machines include laser engravers (Glowforge), milling machines (X-Carve), and 3D printers. They all use movement instructions to move X, Y, and Z axes very precisely and do things at those coordinates.
It's easy to find a basic CNC controller that can be used for a CNC mill, a laser engraver, or plotter. These CNC controllers accept gcode over USB/serial, and turn stepper motors to put the machine in the correct position. They typically run grbl, an open source gcode parser that runs on Arduinos.
The Kilopixel is essentially a 2-axis machine that uses the third axis for the pixel poking mechanism.
I connected a Raspberry Pi to the CNC controller and use it for two purposes: querying my API to get the next pixel, writing the appropriate gcode to get there, activating the pixel poker, and then reading a light sensor to determine the physical state of the pixel. It then returns that state to the API and continues the loop. This is run with a Python script and depends on pigpio to read the light sensor over GPIO pins.

Poking pixels
The pixels rotate and have a notch that registers every 90° to encourage them to align properly. To turn them, I created a reciprocating poking mechanism that uses a flexible glue stick to push on the edge of the pixel. As the pixel turns, the poker moves to the right and lifts up slightly, then moves out of the way and retracts. This is all controlled by gcode and is a rather finicky part of the whole machine.


We're changing pixels. What should we draw?
At this point, I have a thousand pixel display that listens to an API and changes pixels one-by-one. So what does the API say?
The API is controlled by a web app that is the source of truth for what should be on the display. It has a few modes:
- User-submitted: anyone can submit a 40×25 image to be drawn, and the most popular submission will be drawn next. Loop forever.
- Real-time collaboration: there's a single picture being drawn, and anyone can change any pixel in real time. This doesn't work great with many participants, but is a solid choice if I install the Kilopixel in a coffee shop or something.
- Idle modes: I wrote a few algorithms to generate shapes and patterns, but my favorite mode is a clock that can barely keep up with drawing itself.
For the public launch of the Kilopixel I chose the user-submitted mode, and you can submit your own right now. Or vote for the submissions you want to see drawn next.


I tinkered with a few stacks for the web app over the years, using it as an excuse to try new things. At first it was a node/Socket.IO app, then a Laravel + Livewire app, and finally a Laravel + InertiaJS + VueJS app. It's hosted on a modest DigitalOcean VPS. It also runs locally on my laptop to record and upload video.
Putting it out there
Since the inception of the project, I really wanted this to be something that I shared with at least a few people. It's neat to have in my office, but if it was just for my own enjoyment, it wouldn't be worth all this effort.
I originally planned to hang this in my friend's coffee shop and let a few people at a time interact with it. I still love this idea! And I might do it.
But what I'm really excited about it putting this on the internet for everyone and that means recording and streaming the display in my office. Here's the setup:

There are two webcams involved: one mounted directly on the pixel poker for a closeup, and one wide shot. The two cameras are combined in OBS where I can stream to YouTube, and the wide shot is also recorded continuously using ffmpeg. Streaming to YouTube provides a live view of the physical device alongside the digital queue of submissions. The camera, USB hub, and light are hung from the ceiling with a respectful amount of jank for the streaming phase of this project.
Besides streaming, the laptop is running a scheduled job that queries the API to see if a submission has recently finished drawing. If it does, it generates a rather complex ffmpeg command to generate a one minute timelapse of the submission being drawn. The timelapse is uploaded to kilopx.com and posted to Bluesky where it can be shared by the creator of the artwork - for example, pixel art by Matt Stauffer
Something physical, in my office, controlled by the internet. What could go wrong?
I've built some defensive features into the web app so I can mitigate common abuse patterns if they become a problem. I've decided to not lock it down prematurely - I think it might be fun to see what people can do with this thing! Voting is open to anyone with a few basic session checks, submission of artwork requires a Bluesky OAuth login, and I have a mechanism to quickly delete problem submissions.
I'll see what the internet does and adapt accordingly!
What next?
I'm sincerely hoping the internet has fun with this project for a bit! Once it winds down, I've considered turning control of the display over to an internet friend - after all, it just hits an API, why not yours? If you're interested, email me.
And then, the final destination will be behind me on my webcam - I'll let anyone on a video call monkey with my background to their heart's content. What could go wrong?
In the meantime, please submit something or just follow along!
What's Your Reaction?
 Like
0
Like
0
 Dislike
0
Dislike
0
 Love
0
Love
0
 Funny
0
Funny
0
 Angry
0
Angry
0
 Sad
0
Sad
0
 Wow
0
Wow
0


.jpg)